- High-quality 2 mil adhesive vinyl
- Frosted finish option
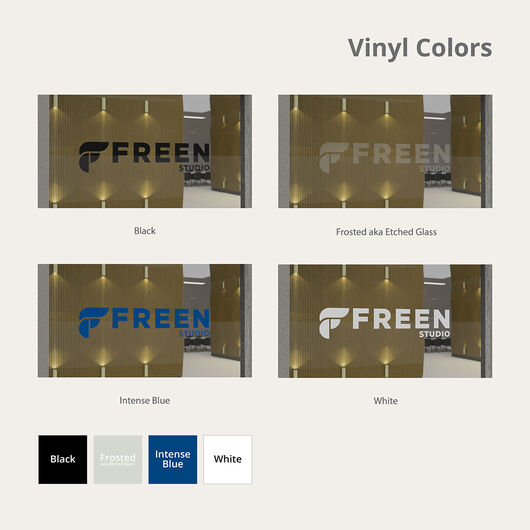
- Available in 4 colors
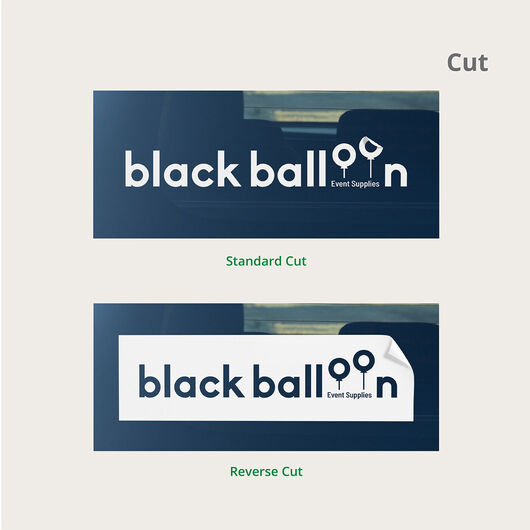
- Choose standard or reverse cut
Fleet Lettering
Features
- High-quality 2 mil adhesive vinyl
- Frosted finish option
- Available in 4 colors
- Choose standard or reverse cut
Amplify your brand presence on the road with fleet lettering.
Maximize marketing by applying fleet lettering on all of your company’s vehicles. Fleet lettering adds eye-catching branding to boost brand recall and name recognition while any of your cars or trucks are on the road. You can use these to advertise your brand, display catchy slogans, or share the services you offer.
Fleet lettering is cut from solid 2 mil adhesive vinyl. The vinyl material is waterproof and leaves no residue when removed. It can be attached both on and glass windows. Fleet lettering can be designed in standard or reverse cut. Standard cut fleet lettering cuts the vinyl material into the exact shape and size of your design while reverse cut starts with a solid block of color and cuts away the design elements. A frosted finish pairs perfectly with a reverse cut graphic.Fleet Lettering installation instructions
1. Clean and dry the surface where the lettering will be installed.

2. After measuring and marking your intended installation location if necessary, apply a horizontal strip of masking or painters tape to the top of the graphic with the top half of the tape on the intended surface, creating a hinge.

3. Hold the bottom edge of the hinged graphic away from the intended surface and remove the back liner (which is different from the transfer tape), revealing the sticky backing of your lettering or graphic. Be careful not to allow the exposed adhesive to touch the surface.

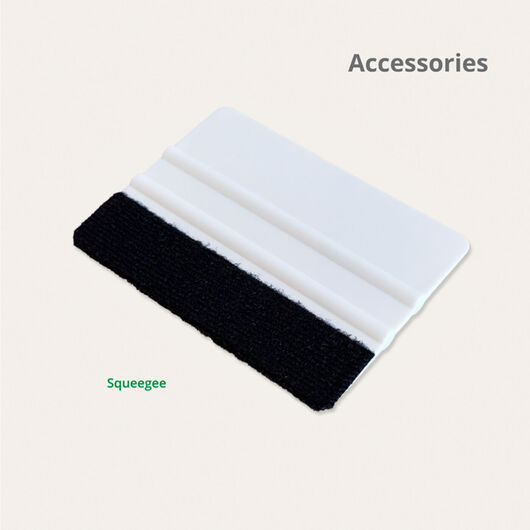
4. Using a squeegee*, apply pressure to the front or pre masked side of your lettering, placing the graphic onto the intended surface. Squeegee from left to right from the top down. If creases or bubbles develop, carefully lift the graphic and re-squeegee it. *Available for purchase with vinyl lettering.

5. Once in place without creases or bubbles, squeegee the entire lettering or graphic to ensure the adhesive is firmly attached to the surface.

6. Gently remove the pre-mask transfer tape, starting at a top corner. If any vinyl begins to come off the wall, use your squeegee to firmly adhere it back to the wall and continue peeling away the premask.

7. Laying the liner over the graphic with the shiny side facing you, apply hard pressure with the squeegee, removing any stubborn air bubbles.

Download or Print Vinyl Lettering Installation Instructions PDF.
Customer Questions
Your files will be reviewed for printing errors without paying a cent.
150+ print products to help you make a good impression. 1000+ options to customize to your heart’s content.
The product you want. The way you want. Professional printing guaranteed.


.png)


.png)
